

get_my_organization tool. Use OAuth for an interactive sign-in, or use a DialNexa API key when the client supports custom request headers.
Before you begin
- Confirm that you can sign in to the DialNexa workspace you want to authorize.
- Use a test workspace when evaluating tools that can change data or spend wallet balance.
- Confirm that your MCP client supports remote MCP servers over Streamable HTTP.
Step 1: Add The DialNexa MCP Server With OAuth
Most OAuth-capable MCP hosts only need the remote server URL:Step 2: Sign In And Review Consent
Your client should open the DialNexa sign-in and consent flow. Sign in if needed, review the requested read and write permissions, select the intended workspace when more than one is available, and click Allow.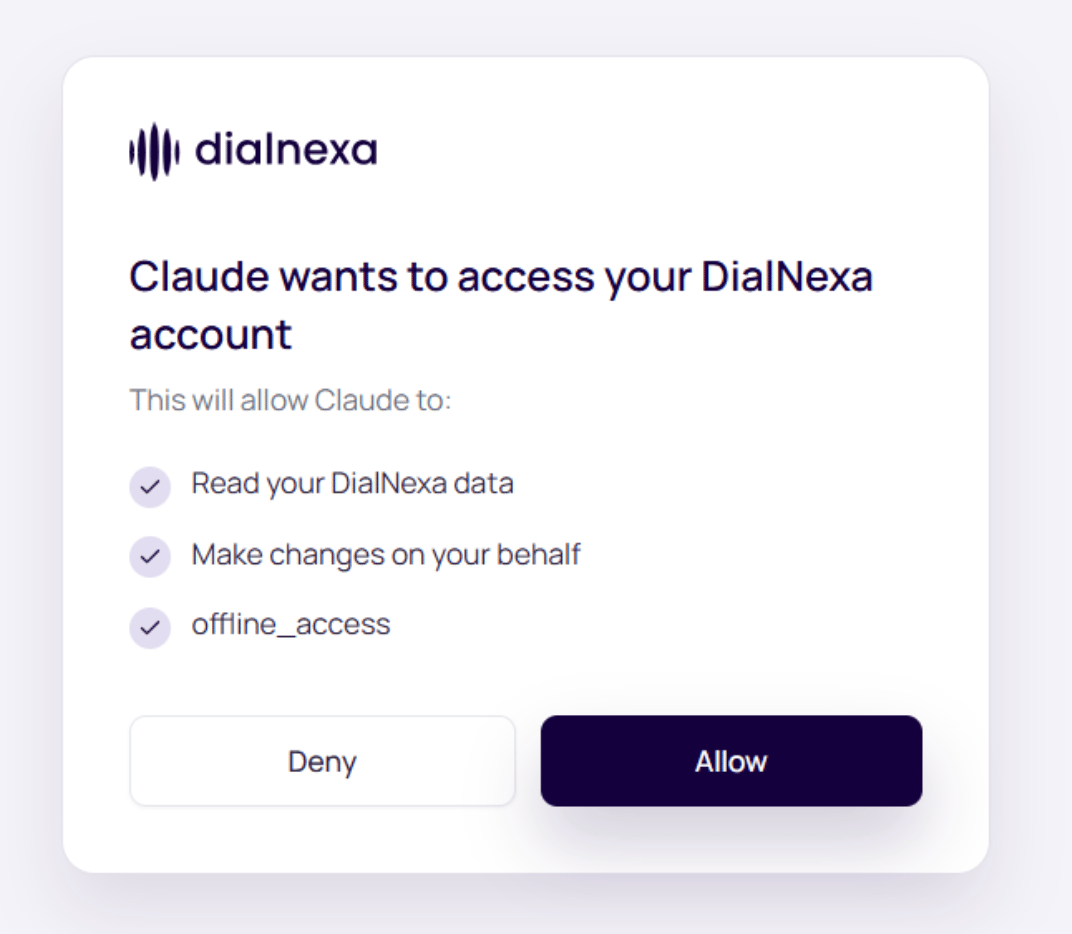
Alternative: Connect With An API Key
Most MCP hosts accept a server configuration with a URL and headers. Add the following values using your client’s settings format:Step 3: Reconnect The Client
Save the configuration, then reconnect or restart the MCP host so it initializes the new server. The client should complete MCP initialization and calltools/list automatically.
Do not send workspace IDs in the server URL or tool arguments. DialNexa derives the workspace from the OAuth grant or API key.
Step 4: Verify Tool Discovery
Open the client’s tool list and confirm that it containsget_my_organization, list_agents, and list_calls. The current reference contains a dedicated page for every available tool in the MCP Tools sidebar.
If no DialNexa tools appear, check the server URL, OAuth consent state or Bearer header, and client logs before attempting a tool call.
Step 5: Make A First Read-Only Call
Ask the client to identify the current DialNexa workspace. With a credential for one workspace, callget_my_organization without arguments. If the token grants several workspaces, call List My Organizations first and pass the chosen organization_id to get_my_organization and subsequent tools.
The protocol request has this shape:
Verify the result
A successful response contains one text content block. Parse itstext value as JSON when you are building a custom client:
MCP File Uploads
Use a host-provided attachment when your MCP client can pass the attached file directly. If it cannot, call Create Upload URL, upload the bytes, then call the returnedfinalize_tool with the upload_id. Each slot is tied to one workspace, resource, and upload kind and expires after 10 minutes.
In a host that supports the upload panel, select the file in chat and wait for upload completion. A coding client that can send HTTP requests can set
reveal_url: true, then PUT the file bytes with the returned headers. Allow the returned upload_host through any network restrictions. Uploading bytes alone does not create a batch, enroll leads, or add a knowledge-base document; the finalize tool performs that action.
For small text or CSV content already available to the client, roughly under 50 KB, use the supported inline text field and file name. Upload Knowledge Base Text can index text directly. Send exactly one file source, and do not paste or re-encode a large attached file into tool arguments.
Review the action before finalizing: a batch starts real calls, and leads added to an active workflow can immediately incur call charges. After a timeout, inspect the batch, workflow leads, or document list before retrying. A consumed or expired upload slot cannot be reused; check the result before creating a replacement.
Make your next call
Start with a list or get tool, then pass returned IDs into a state-changing tool only after reviewing its safety label and prerequisites.- Call
list_agentsto discover agent IDs. - Call
get_agentto inspect one agent. - Review
create_callbefore placing a billable outbound call.
Troubleshooting
See MCP responses and errors for retry decisions and confirmation rules.